
Resource wizard: Association type provisioning from resource for subject
|
Since 4.9
This functionality is available since version 4.9.
|
On this page we create provisioning rule(s) to specify how midPoint should read the association information and transform it to midPoint data, typically assignments.
Figure 1. Provisioning from resource
Click btn:[Add provisioning rule] to create a new provisioning rule.

Figure 2. Main configuration of association inbound mapping
We can configure basic attributes of the provisioning rule:
-
Name is used to uniquely name this rule
-
Strength allows the association mapping strength to be set
-
Lifecycle state allows defining the lifecycle state, e.g.
Proposedfor simulation of the provisioning rule.
Click btn:[Save settings].
Further configuration is required.
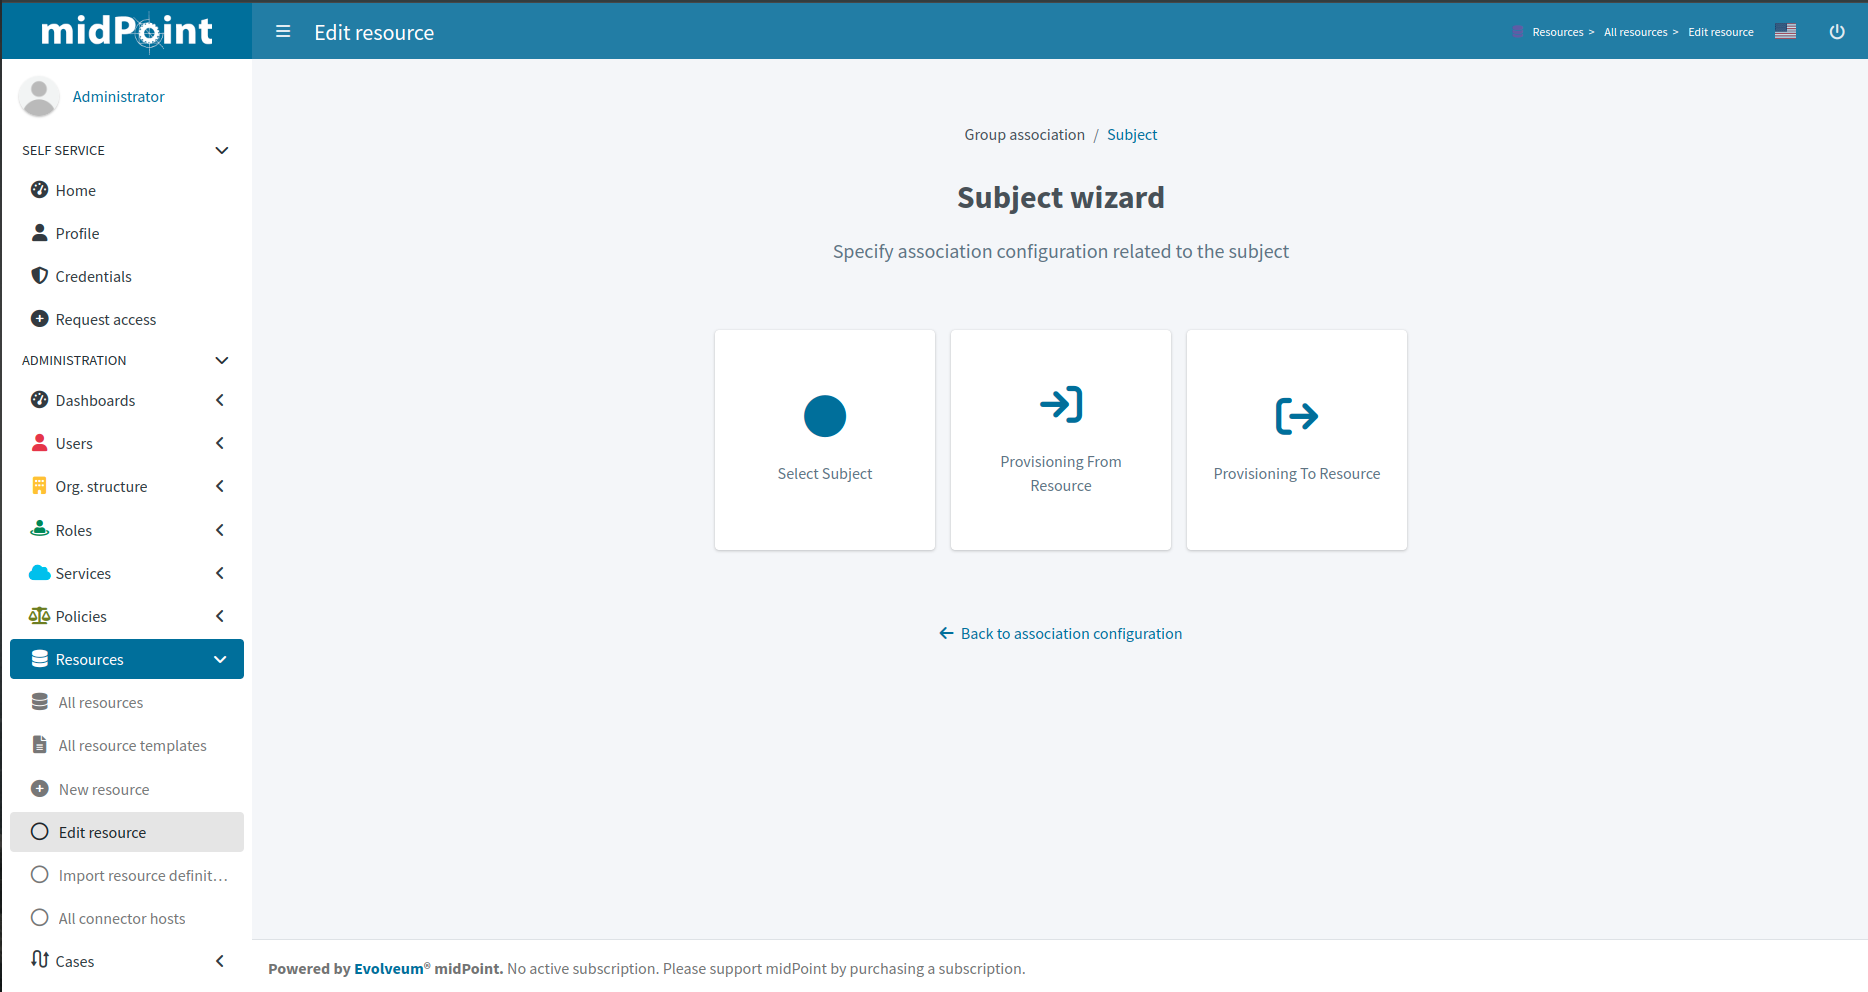
Figure 3. Provisioning from resource wizard
Basic Attributes tile allows returning back to the basic provisioning rule attributes definition. Other tiles are described below.
Mapping
In this step, you can configure the mapping for reading the associations (inbound).

Figure 4. Provisioning from resource mappings
Create a new mapping using btn:[Add inbound] that defines the transformation of association data from resource to midPoint data (inbound):
-
Name is needed to uniquely identify this mapping
-
From resource attribute should be kept as it is
-
Expression: we can use the expression Shadow owner which means assigning the role that owns the entitlement
-
Target property should be set to
targetRef(of the assignment corresponding to the association) -
Lifecycle state allows you to define the lifecycle state. This can be used during Simulations.
The detailed steps for mapping include the same steps as editing the mapping of the object type.
Click btn:[Save mappings] when done to return to the previous page from which you started the mapping editor.
Synchronization
In this step, you can configure synchronization rules for provisioning. This section specifies how midPoint reacts when a new synchronization event is detected.

Figure 5. Synchronization
Click btn:[Add reaction] to add a new row in the table.
For the situations, you can select an appropriate situation:
-
Unmatched refers to situation when there is no assignment corresponding to the association
-
Matched refers to situation when there is a direct assignment corresponding to the association already
-
Matched indirectly refers to situation when there is an indirect assignment corresponding to the association already
For the reactions, you can select:
-
Add focus value to allow creation of assignment corresponding to the association
-
Synchronize to synchronize data between association and assignment for existing assignments
-
Undefined to not do anything
For each table entry:
-
Lifecycle state allows you to define the lifecycle state of the situation/reaction configuration. This can be used during Simulations, e.g. specifying lifecycle state as
Proposedwill be used only to simulate the synchronization/reaction configuration,Draftdisables the synchronization/reaction configuration etc.
The detailed steps for synchronization rule include the same steps as editing the synchronization rule of the object type.
Click btn:[Save synchronization settings] when done to return to the previous page from which you started the synchronization editor.
Correlation
In this step, you can configure correlation rules for provisioning. Define a new correlation rule to specify how midPoint should correlate the associations to assignments.

Figure 6. Correlation rules
When you click on btn:[Edit] in item menu you will see table for items of correlation rule.
If associations correspond to assignments, you typically want to use (inbound mapping for) targetRef property (of the assignment) as correlation item.

Figure 7. Configuration of correlation items
Click btn:[Confirm settings] when finished to return to the previous page for correlation rules, but you must save your changes.
Click btn:[Save correlation settings] when done to return to the previous page from which you started the correlation editor.
Now we can go back to configure Provisioning to resource.
Configuration of Resource Wizard Panels
Some wizard panels are configurable. See Wizard panels for more information.
How to Use Lifecycle States
You can use different lifecycle states for resources, object types, attributes, mappings, synchronization situations, and other aspects of resource configuration. You can use the lifecycle state property for simulations. Resources are created in the Proposed lifecycle state by default, and don’t work in normal deployment before switching the state to Active.
You can use the Proposed lifecycle state to test (simulate) the configuration without causing any damage to your target system data. When the simulation results are satisfactory, you can switch the lifecycle state to Active.
You can set different lifecycle states for various configuration items, which lets you put specific parts of configuration to production incrementally.
For example, after you switch your resource to the Active lifecycle state, you can add new mappings in Proposed lifecycle state first. You can simulate the new mapping safely and switch it to Active when it’s ready.
See also:
Limitations
Resource wizard has several limitations, such as:
-
Expression editor supports As is, Script, Literal and Generate expressions only.
-
Mapping ranges are not supported.
-
Mapping domains are not supported.
-
Correlation configuration currently supports the
itemscorrelator only.
MidPoint resource wizard can’t show or edit these features but tolerates them and keeps them untouched if you configure them in XML.
Was this page helpful?
YES
NO
Thanks for your feedback