How To Create A Report
Description
This Guide contains a list of possibilities how you are capable to create a Report in midPoint.
In case you are interested in some more advanced configuration topics regarding reports please have a look at the following pages.
If you are interested in some more advanced examples please have a look at the following set of articles:
Create A Basic Report
There is a quick and easy way how to generate a report form an object list. This is an example how you can do it.
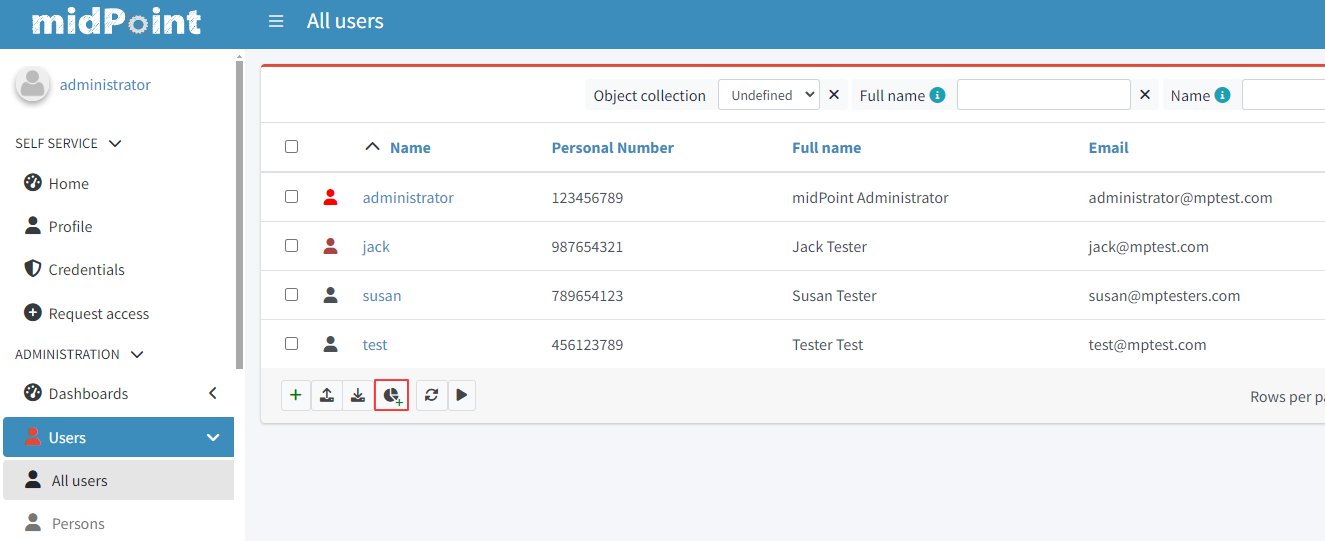
Let’s visit a list of users:
-
go to "Users >All Users"
-
scroll to the bottom of the screen
-
click "Create report" (‘pie chart’ button)
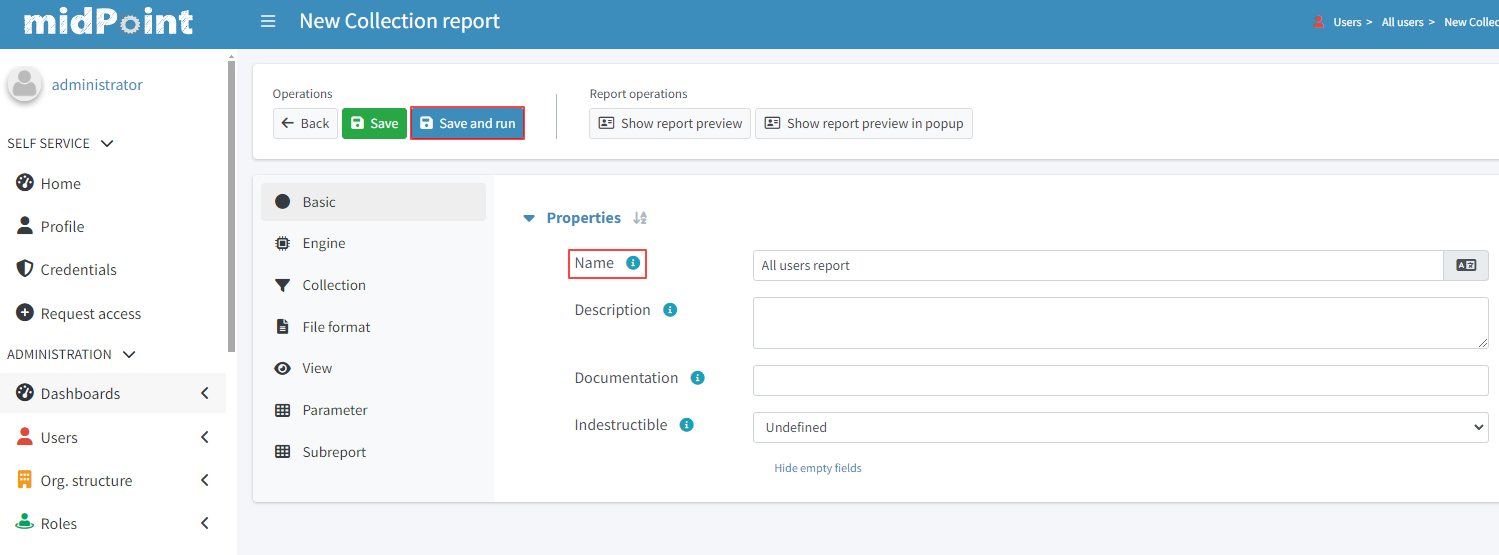
The screen represents a “new” Collection report. There are a couple of parameters we have to input here
-
type in the Name: "All users report"
-
click "Save and run"
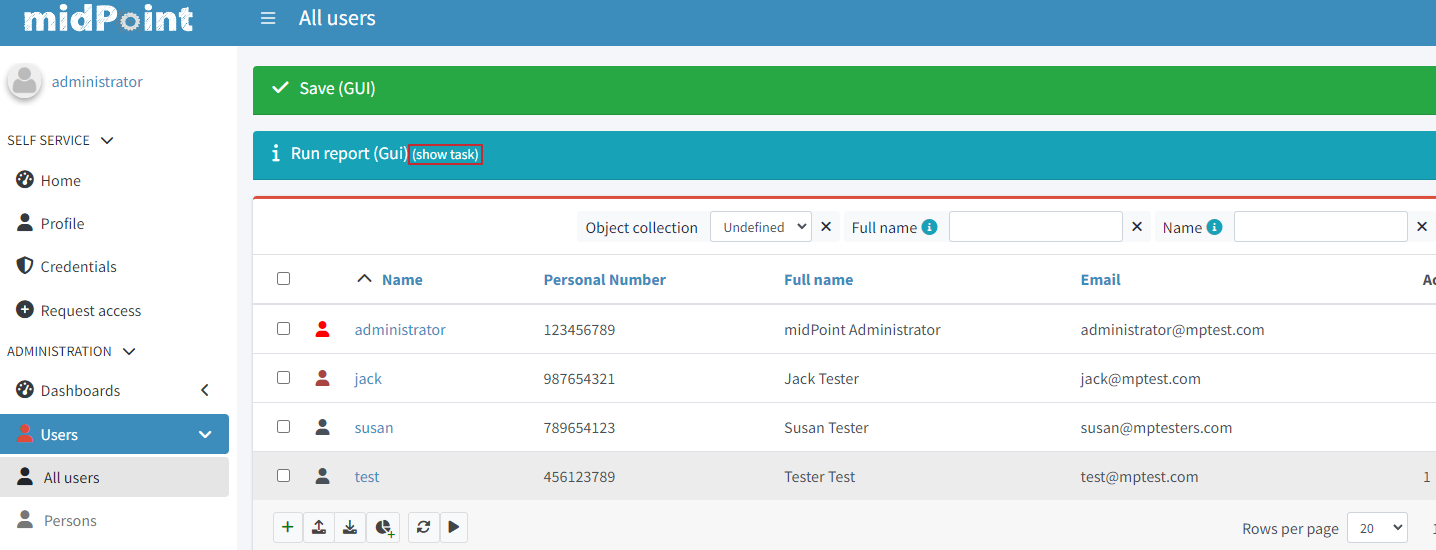
After success the top screen should have a “blue” banner stating that there is a task on the background.
-
click show task on it
-
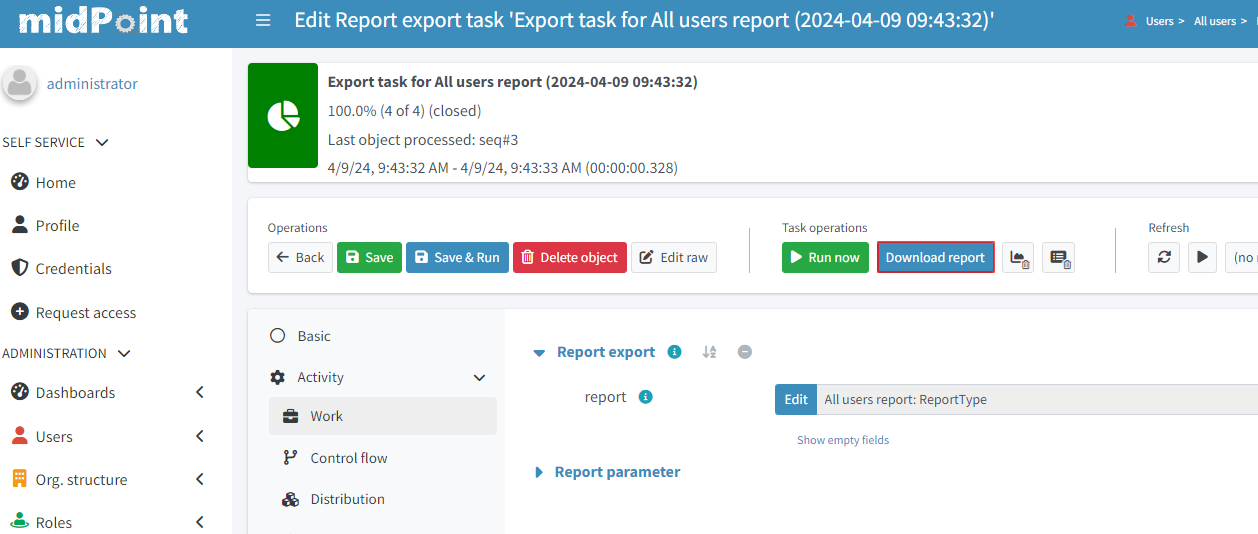
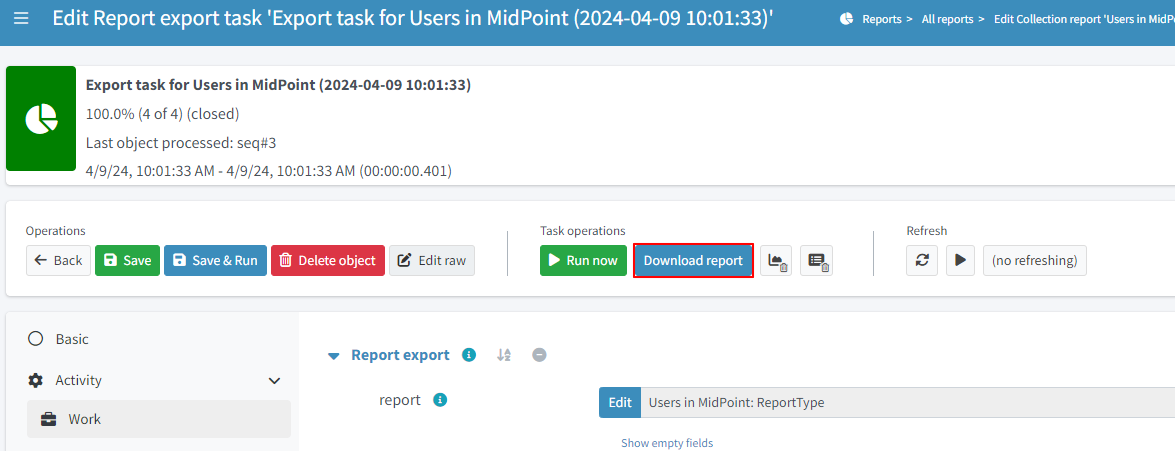
in the action button container on the top of the page click on the button "Download report"
-
you should have a csv with all the users in midPoint.
Execute an Already Existing Report
If we already have a Report Definition present, either one which was created by us or one pre-configure out of the box, we just need to find it among the list of reports.
-
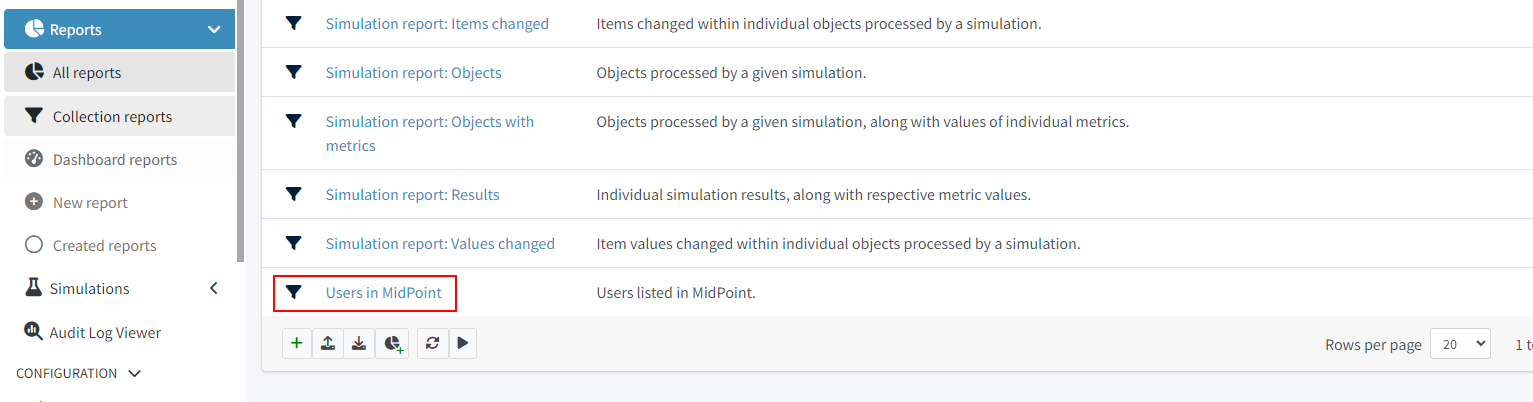
in "Reports >All reports" (or choose one of the report types)
-
Click on "Users in MidPoint"
-
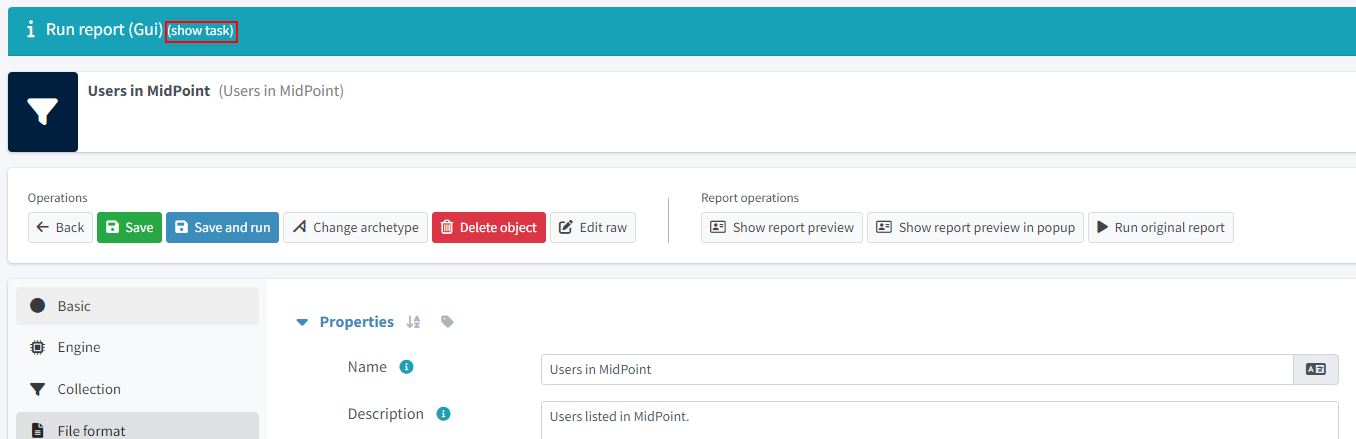
In the reports page Click "Run original report"

-
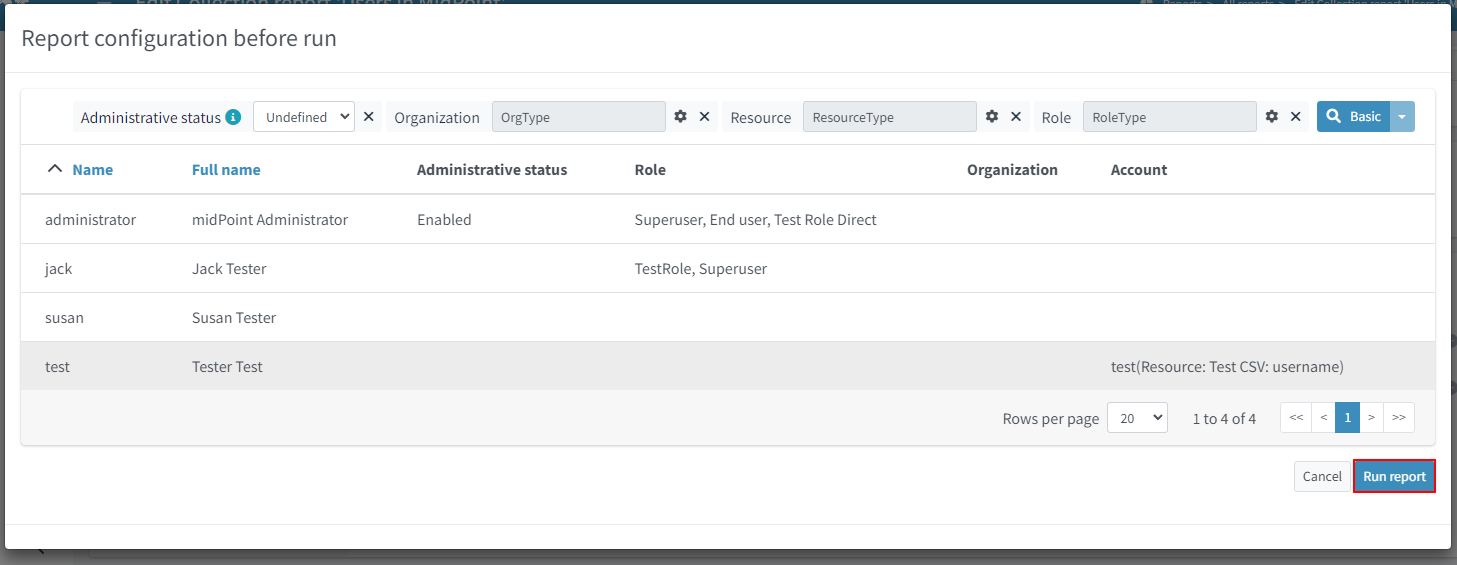
Because the report has configurable parameters a window called "Report configuration before run" will pop up, click on "Run Report"
-
A blue banner will show up, click the "show task" string which is on it
-
in the action button container on the top of the page click on the button "Download report"
Intermediate Report Customization
If you want an example with more customization regarding the report columns and the output format, please see the intermediate use-case
Advanced Reporting Use-Case
In this next topic we look at an advanced reporting set-up. In the following article we have described a custom report created via the GUI where we fine tune the reported collection and use some advanced configuration parameters: Some customization via scripting is involved as well.
Was this page helpful?
YES
NO
Thanks for your feedback