Migration from Eclipse Plugin
Importing Eclipse Project
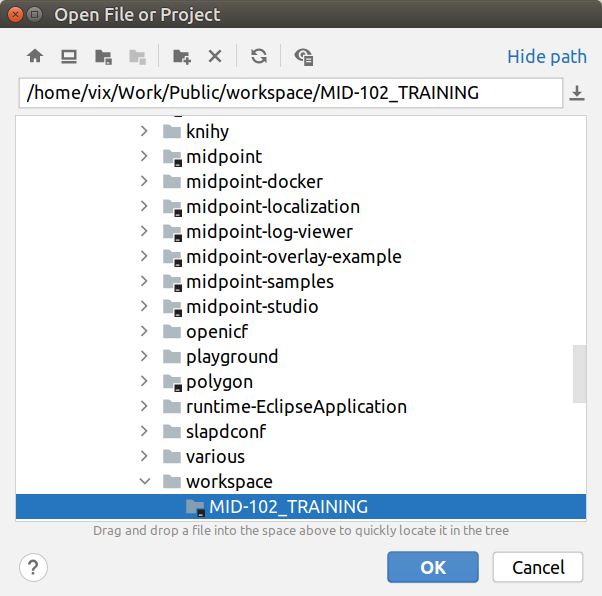
Importing an existing Eclipse project consists of opening the project in IntelliJ IDEA and creating the files which MidPoint Studio needs.
To migrate existing Eclipse project, follow these steps:
-
start IntelliJ IDEA
-
go to File → Open …
-
navigate to the directory with your Eclipse project
-
click OK button
-
press
Shiftkey twice to open the IntelliJ IDEA search window -
start to type
midpoint -
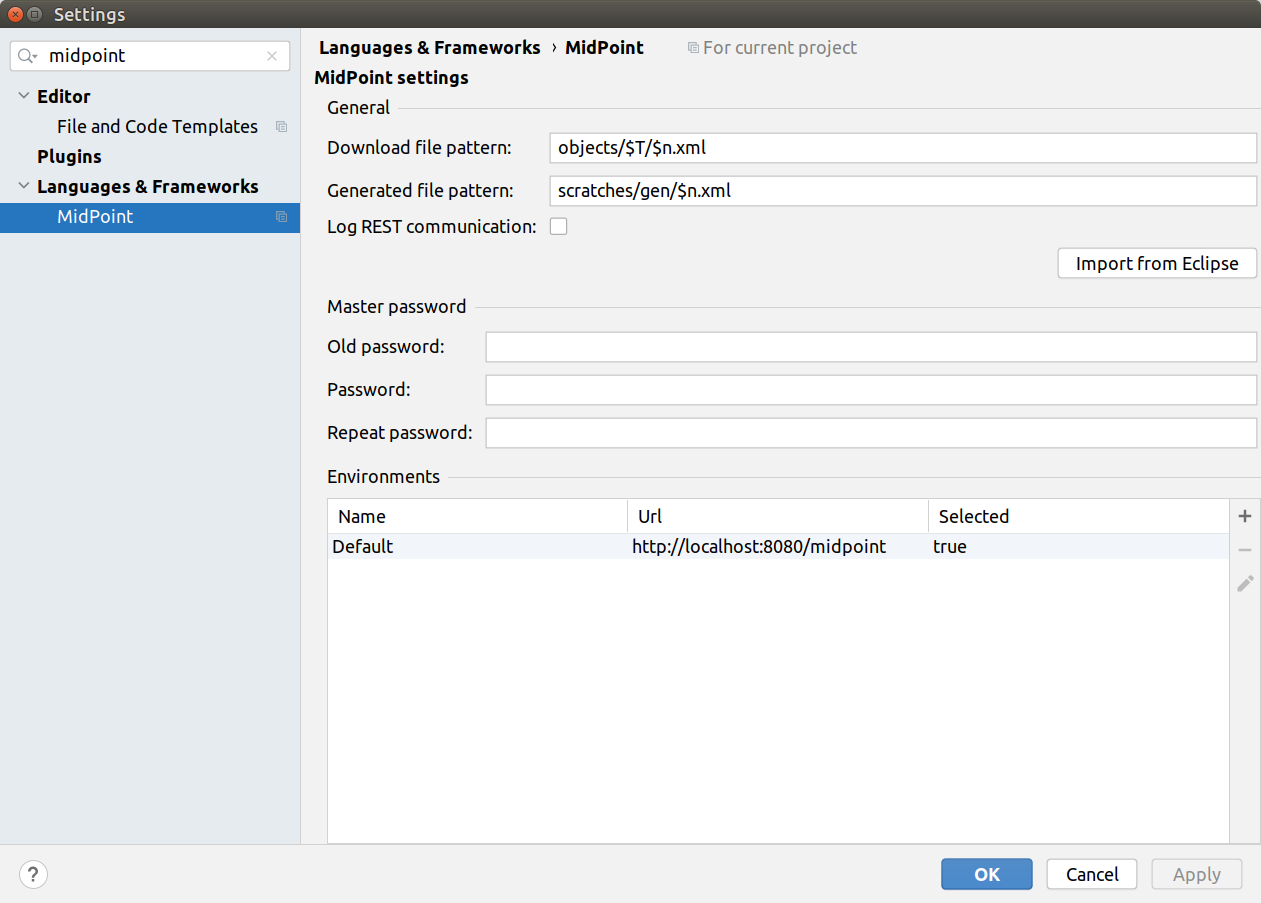
select the row MidPoint Settings to open midPoint project settings
-
keep Download file pattern as is unless you know what you are doing. See also Updating Project Settings
-
keep Generated file pattern as is unless you know what you are doing. See also Updating Project Settings
-
click Import from Eclipse button
-
set the Master password for your encrypted properties store (
Keepass).-
do not set
Old password, keep it empty -
the master password will be used for encryption of
Keepassfile. See Using Keepass File -
the master password will be stored in your operating system key management subsystem to not ask for it each time you start IntelliJ IDEA
-
-
Select a proper Environment
-
by default there is a
Defaultenvironment forhttp://localhost:8080/midpoint -
you can modify or add new environments for your projects now or later, see Working With Environments
-
-
click OK button


Limitations
-
MidPoint Studio will not automatically migrate environments (as they are global in Eclipse). You have to create your environments manually including references to properties files
-
MidPoint Studio will not overwrite
.gitignoreandpom.xmlfiles if they existed in the imported Eclipse project
The default content of these files:
File |
Content |
|
Migrating From Eclipse
If you were used to the Eclipse keyboard shortcuts, don’t despair! In IntelliJ IDEA you can use them.
-
start IntelliJ IDEA
-
go to File → Settings
-
select Keymap
-
select your favorite keymap, e.g. Eclipse
-
click OK button